
This article contains affiliate links. If you make a purchase through these links, we may earn a small commission at no extra cost to you. Learn more.
Why RV Solar Changes How You Camp
Solar panels convert sunlight into electricity stored in your battery bank, which powers your RV's 12V DC systems (lights, fans, water pump, USB charging, vent fans) and, if you have an inverter, your 120V AC devices (laptops, CPAP, small appliances). The result is camping independence: free boondocking on BLM land, national forests, and Walmart parking lots without the noise and expense of a generator running constantly.
Solar is not magic. It can't run your roof AC unit for more than a brief time without an enormous bank. It's weather-dependent. And it requires a meaningful upfront investment. But for dry camping and extended boondocking, a properly sized solar system pays for itself in eliminated campsite fees within a season or two.
The Four Components of an RV Solar System
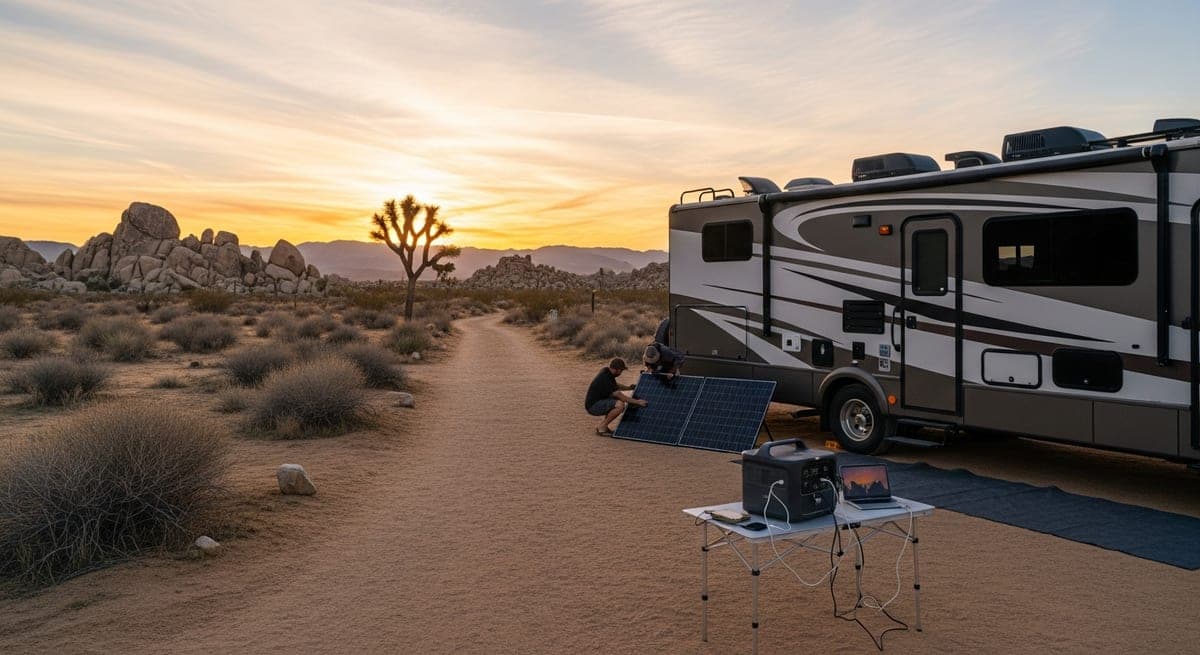
1. Solar panels: Mounted on the roof, they produce 12V DC power proportional to sunlight intensity. Common residential RV setups range from 200W (one 200W panel, good for weekend boondocking) to 800W+ (multiple panels, suitable for full-time living). A 400W system is a good starting point for part-time boondockers.
2. Charge controller: Manages how the panels charge the batteries, preventing overcharge. MPPT (Maximum Power Point Tracking) controllers are significantly more efficient than PWM controllers and are worth the extra cost for systems over 200W.
3. Battery bank: Stores the electricity. This is usually the largest cost in an RV solar upgrade. Lead-acid (standard flooded or AGM) batteries are cheaper upfront but heavier, less efficient, and require replacement more often. Lithium (LiFePO4) batteries cost 3–5x more upfront but last 10x longer, charge faster, and can be discharged to 80% vs 50% for lead-acid — giving you much more usable capacity per dollar over the system's life. For a modern build, lithium is generally the right choice.
4. Inverter (optional but usually included): Converts DC battery power to 120V AC for standard household devices. A 2000W pure sine wave inverter handles most standard loads except air conditioning. Required if you want to run a CPAP, laptop charger, or coffee maker without shore power.
Sizing a System for Your Needs
Calculate your daily power consumption in amp-hours (Ah). Rough estimates: LED lights (5–10Ah), phone/tablet charging (5–10Ah), 12V fan (8–15Ah), water pump (3–5Ah per day), laptop (30–50Ah), CPAP without humidifier (30–50Ah). A typical couple dry camping without AC might use 80–120Ah per day.
To recover 100Ah per day with solar in 5 peak sun hours: 100Ah × 12V ÷ 5 hours = 240W of panels minimum. Add 30–40% buffer for efficiency losses and cloudy days: 300–350W recommended for this usage profile.
Battery bank should hold 2–3 days of consumption: 200–360Ah usable. For lithium (80% usable): 250–450Ah total capacity. For AGM (50% usable): 400–720Ah total capacity.
Cost Estimates (2025–2026)
Starter system (200W panel, 200Ah AGM, PWM controller, no inverter): $600–$1,000 installed DIY. Good for weekend boondocking without AC or heavy loads.
Mid-range system (400W panels, 100Ah LiFePO4, MPPT controller, 2000W inverter): $2,000–$3,500 DIY or $4,000–$6,000 professionally installed. Handles full-time dry camping without AC for most couples.
Full off-grid build (800W+ panels, 200–400Ah LiFePO4 bank, 3000W inverter/charger): $5,000–$10,000+ depending on components and whether you hire installation. Capable of running most loads including limited AC use.
Ready to Plan Your Trip?
Put this knowledge to work. Let our AI build a personalized RV itinerary for your next adventure — or browse community trips for inspiration.