This article contains affiliate links. If you make a purchase through these links, we may earn a small commission at no extra cost to you. Learn more.
The Sanidumps.com community database lists over 8,000 dump station locations across the US and Canada — yet threads on iRV2 and rv.net consistently rank "can't find a dump station in time" among the top anxieties for new RVers, right alongside blowouts and leveling issues. The gap isn't availability. Dump stations are dense along major Interstate corridors. It's knowing where to look before the tank hits capacity, and — once you're at the station — using it in a sequence that doesn't create the very mess you drove there to avoid.
What follows is drawn from community-aggregated experience: Sanidumps.com user reports, iRV2 and rv.net forum threads, and the collective trial-and-error of RVers who've sorted this out the hard way. — The RVMapper editorial team, tracking RV community knowledge since 2020.
Where the Community Goes First
Dump station density drops considerably on rural western routes — a point veteran RVers on the Sanidumps.com forums flag repeatedly for anyone planning high-desert or backcountry trips. On the main corridors, you're rarely far from one. Off them, planning ahead matters. The consensus playbook:
- Sanidumps.com: The most comprehensive dump station database in the US and Canada. Free, community-maintained, with GPS coordinates, fees, and hours. The app works offline — download it before any trip through remote areas. Users report the data is generally reliable, though posted hours can be seasonal and worth a quick call to confirm.
- RVDumps.com: A second community-maintained database with slightly different coverage. Many experienced RVers cross-reference both when hunting for locations off the main corridors.
- Campendium and The Dyrt: Reviews frequently note whether a campground accepts non-registered guests for dump access. The typical fee runs $5–$15, and community reviews tend to mention whether the station is well-maintained.
- Flying J/Pilot Travel Centers, Love's, and TA Travel Centers: These truck stop chains have dump stations at many locations. The Flying J in Kingman, AZ (I-40, exit 53) is well-documented in Southwest RV forums as a reliable stop at around $10 — a useful reference point for anyone running US-93 or I-40 through the Mojave. The Pilot Flying J app shows dump station availability by route before you leave.
- State parks: Nearly all state parks with camping have dump stations and accept day visitors for $5–$10. Staff at parks like Bastrop State Park in Texas routinely handle dump-only visitors, and rangers there report it's a common enough request that no reservation is needed.
- Campgrounds you're not staying at: Call ahead — most will accommodate a dump stop for $10–$20. RVers on rv.net report that smaller, privately-owned parks are often more flexible about this than chain-affiliated properties.
- Municipal dump stations: Some counties and smaller cities operate public dump stations, occasionally free. These appear in the Sanidumps database but are inconsistently maintained — community reports suggest calling ahead to verify hours before routing to one.
The Sequence That Prevents Disasters
Dump station messes and backups are almost always procedural — users on iRV2 attribute the vast majority of station-side incidents to reversed steps or skipped rinses, not equipment failure. Follow this sequence consistently:
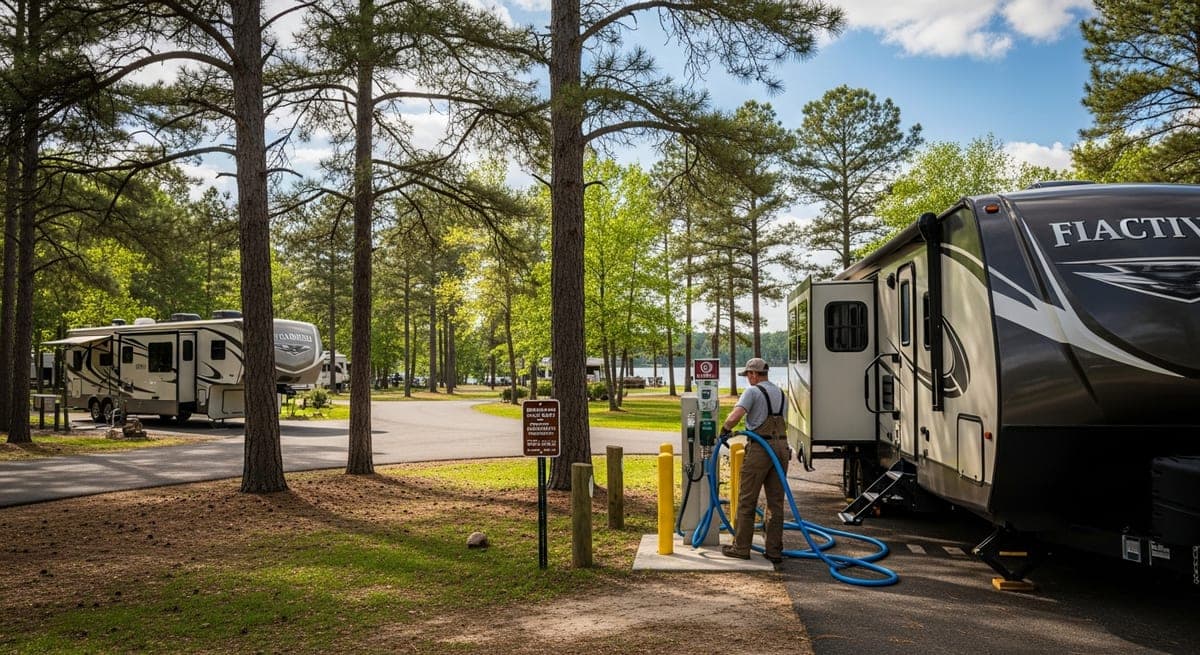
- Position your RV: Pull forward until your sewer connection sits directly adjacent to the dump inlet. Standard hose runs 15–20 feet — don't stretch it. If the inlet is on the wrong side of a pull-through, reposition before connecting.
- Connect your hose first: Attach the sewer hose to your RV's outlet before opening any valves. Use a hose support to keep it elevated for gravity-assisted flow. Make sure the hose is fully seated in the dump station inlet — a hose that slips free mid-dump is the specific failure mode behind most of the forum horror stories.
- Open the black tank valve: Black tank (toilet waste) drains first. Open slowly. The whoosh and gurgle is normal — wait for flow to stop completely before moving on. A full tank takes longer than most first-timers expect.
- Close the black tank valve.
- Open the gray tank valve: Gray water (sinks, shower) flushes through the hose and rinses it out. Let it drain completely.
- Close the gray tank valve.
- Rinse the black tank: If your RV has a built-in tank rinser — a dedicated hose inlet that sprays water inside the tank — run it 5–10 minutes, then open the black valve again and dump the rinse water. Close the valve before disconnecting anything.
- Rinse your hose: Use the station's rinse hose on the outside of your sewer hose before storing it. Many RVers install a clear elbow adapter at the dump inlet so they can see when the water runs clear — a reliable visual confirmation that the tank is empty and the hose is clean.
- Disconnect and store: Gloves on before touching any connection. Cap your RV's outlet, cap the hose end, and store in a dedicated bay compartment or sealed bag. Never put an uncapped sewer hose loose in a storage bay.
- Add tank treatment: After dumping, add a holding tank treatment and a few gallons of water to restart the biological breakdown cycle. Happy Campers Organic Holding Tank Treatment earns consistent high marks in RV forums across multiple seasons of use.
The Mistakes That Cost RVers the Most
Leaving the black valve open at full hookups: This is the single mistake RVers report regretting most in new-owner retrospectives. Leaving the valve cracked at a full hookup lets liquid drain continuously while solids accumulate — what forum regulars call the "poop pyramid," which typically requires professional tank remediation to clear. Keep both valves closed when connected to full hookups and dump periodically when the tank reaches 2/3 to 3/4 full.
Reversing the dump order: Black tank drains first; gray water flushes the hose second. Reversed, you're routing solids back through a hose you've already rinsed — exactly the outcome a proper sequence is designed to prevent.
Hurrying through a busy station: The pressure of a waiting line leads to skipped rinse steps and rushed disconnects. A thorough dump takes 10–15 minutes. Anyone experienced enough to be piloting the rig behind you understands this — rushing creates the kind of problems that slow everyone down far longer.
When You're Deep in the Backcountry: Stretching Your Range
For extended boondocking trips — particularly in the Four Corners region, eastern Oregon, or other areas where dump stations thin out substantially — tank conservation becomes a real planning factor. Strategies reported consistently by full-timers and long-haul boondockers on the Harvest Hosts and Boondockers Welcome forums:
- Use vault toilets or facilities at trailheads and day-use areas to reduce black tank load — many dispersed camping areas in BLM land have these within a short drive
- Minimize dishwashing by choosing simpler, one-pot meals; scrape and wipe dishes before any water rinsing
- A minimal-flow shower routine — wet down, soap up with water off, rinse briefly — cuts water use significantly compared to a normal shower; how much depends on your showerhead's flow rate, so it's worth measuring your own setup
- Actual tank longevity varies widely based on toilet paper choice, flush habits, tank size, and number of people — veteran boondockers recommend scouting the nearest dump station before you're within 24 hours of capacity, not after
What to Have in the Bay
- Sewer hose: The Camco Rhino heavy-duty hose at 20 feet is the consistent community recommendation. The 15-foot version frequently falls short when dump inlets are positioned awkwardly relative to the RV's sewer outlet.
- Hose support: Keeps the hose elevated for gravity-assisted flow. Inexpensive and universally recommended in new-RVer gear threads.
- Nitrile gloves: Disposable, stored with your sewer kit. Put them on before touching any connection.
- Clear elbow adapter: Seats between the hose and the dump inlet so you can visually confirm the tank is empty and water runs clear during the tank rinse cycle.
- Holding tank treatment: Happy Campers Organic Holding Tank Treatment earns strong and consistent community ratings. Add after every dump.
Related: First RV trip checklist · RV campground types explained
Ready to Plan Your Trip?
Put this knowledge to work. Let our AI build a personalized RV itinerary for your next adventure — or browse community trips for inspiration.