This article contains affiliate links. If you make a purchase through these links, we may earn a small commission at no extra cost to you. Learn more.
The first solar system I installed was 200 watts of budget polycrystalline panels, a $35 PWM controller, and two AGM batteries I already had on hand. By the end of our second night in the Escalante, we were rationing phone charging and running the generator to make coffee. I'd built a system that looked reasonable on paper and failed in the Utah desert — because I bought panels first and sized batteries last. That mistake cost me two rebuilds and a season of frustration.
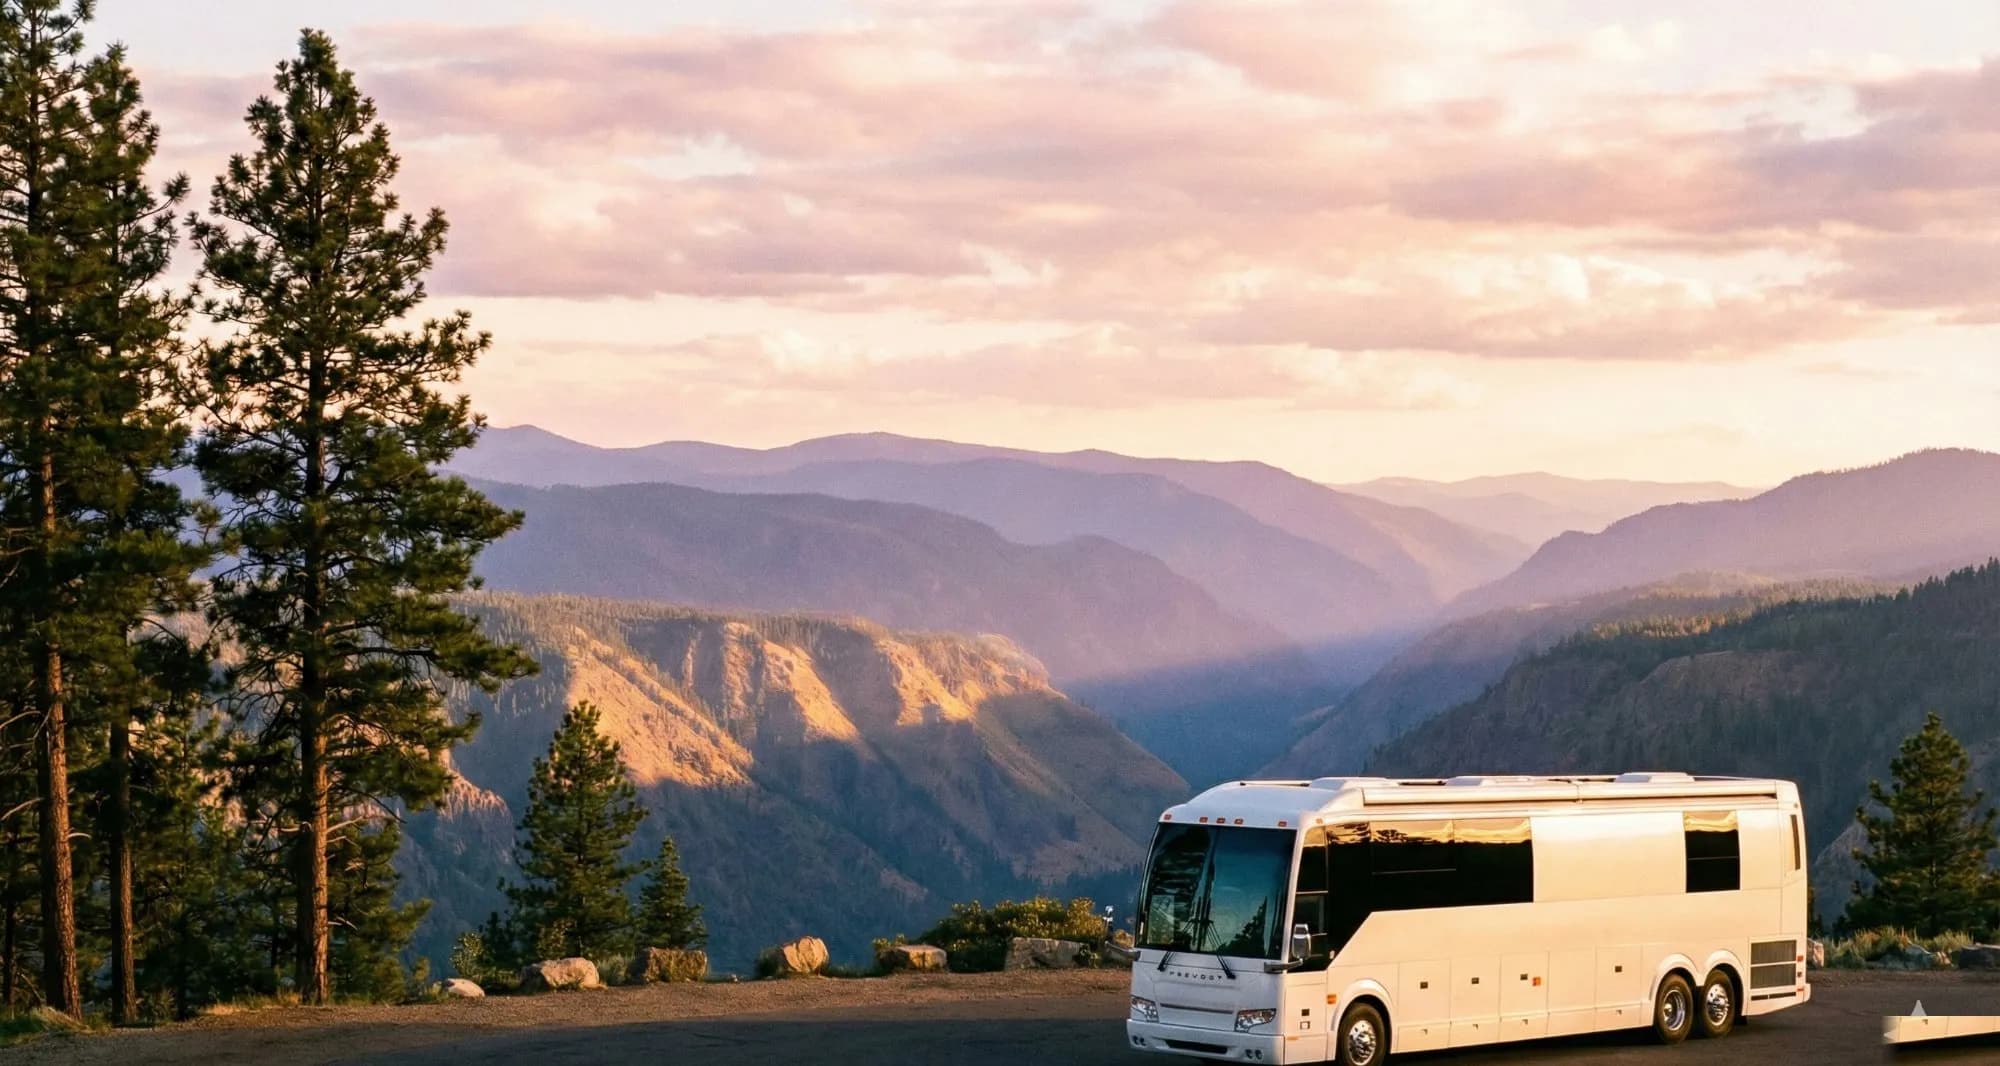
RV solar isn't just for full-timers or off-grid purists anymore. It's become one of the smartest upgrades you can make to your rig, and I say that after chasing free BLM and Forest Service sites since 2019 across three different rigs. The technology has gotten better, cheaper, and more RV-friendly than at any point I've seen. Here's what actually matters — and what the forums usually get wrong.
Why Solar Opens Up the Map
Boondocking freedom. Solar lets you camp anywhere the sun shines without hunting for hookups. That opens up thousands of free and low-cost spots — BLM land across the Southwest, dispersed National Forest sites in Montana and Colorado, remote pullouts in the Great Basin — that would otherwise be impractical for stays longer than a night.
No generator noise. Generators are loud, smelly, and the fastest way to become that neighbor at a quiet site. Solar panels produce power without making a sound. I noticed this most keenly the first morning I woke up to nothing but wind and birds outside Moab instead of the hum of a Honda two sites over.
Lower long-term costs. Once installed, the sun doesn't send you an invoice. If you're paying $40-60/night for hookup sites when you could be boondocking for free, a mid-range solar setup pays for itself in a single season of heavy use.
Less generator wear. Solar dramatically cuts generator runtime — less maintenance, less fuel, longer generator lifespan. Mine is essentially a backup for multi-day overcast stretches now, not a daily crutch.
The Four Pieces That Make It All Work
An RV solar system flows like this: Solar Panels → Charge Controller → Batteries → Inverter → Your Stuff
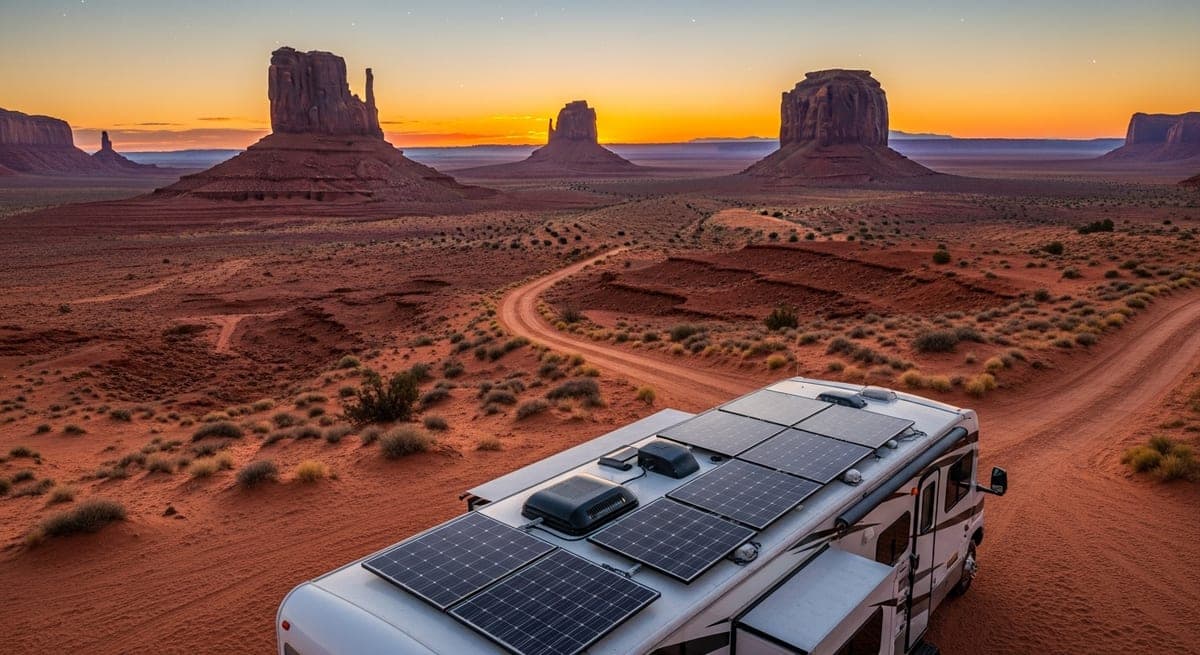
Solar panels convert sunlight into DC electricity. They're rated in watts — a 100W panel produces up to 100 watts under ideal conditions. In practice, budget for about 75-85% of rated output once you account for heat, angle, and real-world inefficiencies.
The charge controller manages the voltage and current flowing into your batteries to prevent overcharging and protect long-term battery health. It's the most overlooked component in a budget build — and the one most likely to be undersized by first-timers.
Your battery bank stores the energy your panels produce. Battery capacity — not panel wattage — determines how long you can run things when the sun isn't shining. This is where most first-time builders underinvest. I know I did.
The inverter converts DC battery power to AC so you can run household electronics — coffee maker, laptop, TV. You don't always need one, but if anything in your rig has a wall plug, you do.
Panel Types: What I Run and Why
Monocrystalline — highest efficiency (20-22%), best performance in low light, most compact for a given wattage. If roof space is limited, mono is the right call. Retail pricing has dropped considerably over the past two years; compare current per-watt prices before committing to a number you read somewhere online.
Polycrystalline — slightly less efficient (15-17%) and requires more roof real estate for the same output. Still a reasonable choice if budget is tight and you have the space. Generally 20-30% cheaper per watt at retail than comparable mono panels.
Flexible (Thin-Film) — lightweight, bendable, and useful on curved roofs or weight-critical setups like pop-up campers. The trade-offs are real: shorter lifespan, lower efficiency (10-15%), and faster degradation from heat. I wouldn't run flexible panels on a rig I planned to live in full-time.
Sizing Your System (Don't Skip This Step)
Step 1: Calculate your daily power consumption. List everything you plan to run and how many hours per day. Here's a realistic example for moderate boondocking:
LED lights: 250 Wh, 12V refrigerator: 600 Wh, laptop: 180 Wh, phones: 60 Wh, roof vent fan: 240 Wh, TV: 240 Wh, water pump: 30 Wh, misc: 100 Wh. Total: approximately 1,700 Wh per day.
Step 2: Size your solar array. Peak sun hours vary significantly by location — Arizona and New Mexico can deliver 6+ hours on a clear day, while the Pacific Northwest in October might give you 3. A reasonable middle-ground estimate for the Mountain West and Southwest is 4-5 hours daily. For 1,700 Wh at 5 hours: 1,700 / 5 = 340W minimum. Add 20-25% for real-world losses: approximately 400-425W of panels.
Step 3: Size your battery bank. Store at least 1.5-2 days' worth of power. For 1,700 Wh, that's 2,550-3,400 Wh of usable capacity. Lead-acid batteries should only discharge to 50%, so you'd need double the rated Ah to get there. Lithium (LiFePO4) can safely discharge to 80-90%, meaning you need significantly less total rated capacity to achieve the same usable storage.
The Battery Decision I Got Wrong the First Time
Flooded Lead-Acid: Cheapest upfront but heavy, high maintenance, and limited to 50% usable capacity. Typically 300-500 cycle lifespan, or 2-4 years with regular cycling. Cost: roughly $100-$200 per 100Ah. Fine as a starting point; not where I'd stay.
AGM (Absorbed Glass Mat): Sealed, maintenance-free, handles vibration better than flooded. Still limited to around 50% depth of discharge. Cost: $200-$350 per 100Ah, 3-5 year lifespan. This is what I ran on my first build — and eventually replaced.
Lithium Iron Phosphate (LiFePO4): Half the weight of lead-acid, 80-90% usable capacity, faster charging, consistent voltage across the discharge curve. Cycle life is typically in the 2,000-3,000 range under normal use; manufacturers quote up to 5,000 cycles, but that assumes careful charging discipline most of us don't maintain in the field. Pricing has dropped considerably through 2025-2026 — brands like Ampere Time and Battle Born have been competitive at or below $400 per 100Ah at retail, though prices shift, so check current listings. More expensive upfront than lead-acid, but cheaper per usable watt-hour over the battery's lifetime. I made the switch last spring, and the difference in day-to-day experience isn't subtle.
PWM vs. MPPT: Don't Make My First Mistake
PWM controllers are simple and inexpensive ($20-$80). Fine for small systems under 200W if your panel voltage closely matches your battery bank. The limitation: they shed excess voltage from your panels rather than converting it into additional charging current.
MPPT controllers harvest 20-30% more energy from the same panels by converting that excess voltage into useful current. For any system over 200W, or any setup where your panel voltage significantly exceeds your battery voltage, an MPPT controller makes a material difference in daily production. Cost: $100-$500 depending on amperage rating. My 40A Victron SmartSolar has been reliable through two full seasons and two very different climates.
Inverters: One Thing I Won't Compromise On
Always use a pure sine wave inverter for RV use. Modified sine wave inverters cause problems with sensitive electronics, motor-driven appliances, and battery chargers — I ran a modified sine unit for three weeks once and couldn't figure out why my coffee maker ran hot and weird until I swapped the inverter. Pure sine solves it.
Size based on your maximum simultaneous load — a 2,000W pure sine wave unit handles most RV needs. Cost: $200-$600 for a quality 2,000W inverter, more for a combo inverter/charger that handles shore power integration as well.
What Systems Actually Cost
Starter System (200W) — Weekend Boondocking: 200W panels, 100Ah lithium, small MPPT controller. Total: $750-$1,500. Good for keeping batteries topped, charging devices, and running lights and a fan. Won't sustain a 12V refrigerator long-term.
Mid-Range System (400-600W) — Extended Off-Grid Stays: 400-600W panels, 200Ah lithium, MPPT controller, 2,000W inverter. Total: $1,500-$3,000. This is where I landed on my second build, and it handles 95% of what we need for week-long boondocking trips in the Southwest.
Full Off-Grid System (800W+) — Full-Time Living: 800-1200W panels, 400-600Ah lithium, 60A+ MPPT, 3,000W inverter/charger. Total: $4,000-$9,000+. Run nearly everything except air conditioning. Worth it for full-timers; more than most part-time campers need.
DIY vs. Professional Install
DIY is completely doable for handy RVers. Critical things to get right: wire sizing (undersized wires cause voltage drop, heat buildup, and fire risk — I found warm wires on my first build and caught it before anything failed), fusing on every positive run, weatherproof roof penetrations using proper cable entry glands and Dicor lap sealant, and solid grounding throughout.
Professional installation adds labor on top of equipment costs. For a mid-range system, RVIA-certified shops typically quote $1,500-$3,000 in labor; larger builds involving lithium batteries and inverter/charger integration can run $3,000-$5,000 or more. Worth every dollar for complex systems, or if electrical work isn't where you're comfortable.
The Mistakes I Actually Made (And Still See in Every Forum)
Buying panels first, batteries last. My first-build mistake, verbatim. I spent $400 on panels before I had a battery plan. Your battery bank is the foundation of the system — size and budget that first, then figure out how many panels you need to fill it.
Undersizing wire gauge. I ran 10AWG wire where 8AWG belonged on my original build. The wires were warm to the touch after a long charge day — caught it before anything failed, but barely. Too-thin wire means voltage drop, heat, and eventual fire risk. When in doubt, go heavier.
Ignoring shade entirely. Even partial shading on one panel can cut output across a series-wired string significantly. I've watched a single tree branch drop my production by 40% in the middle of the afternoon. Either plan parking to minimize shade or look into optimizers.
Skipping a real battery monitor. Voltage alone is a misleading state-of-charge indicator, especially with lithium's flat discharge curve. A proper battery monitor like the Victron BMV-712 ($80-$130) is one of the best upgrades per dollar on any solar build. I ran without one for a year and was constantly guessing wrong.
Expecting solar to run air conditioning. A typical rooftop AC draws 1,200-1,500 watts and might run 8-10 hours daily in real desert heat. That's 12,000+ Wh per day — requiring a system large enough to be impractical for most rigs. The honest answer for most RVers: use a generator for AC days and let solar handle everything else.
The Part Nobody Warns You About
Solar doesn't solve everything, but it solves the right things. A well-sized 400W system with 200Ah of lithium handles most week-long boondocking scenarios comfortably — fridge, lights, devices, and a fan running without anxiety. You can always add capacity later as your camping patterns evolve.
What it actually changes is the map. Sites that were one-night-max stops without hookups become week-long basecamp options. That Forest Service pullout I found last summer outside Moab — no signal, no hookups, 40 miles from the nearest gas station — turned into a five-night stay because we had the power to be comfortable. That's what a good solar setup actually buys you.
— The RVMapper team, troubleshooting solar builds and chasing free campsites since 2019.
Ready to Plan Your Trip?
Put this knowledge to work. Let our AI build a personalized RV itinerary for your next adventure — or browse community trips for inspiration.